In this article, we will discuss the case of an attack that is becoming very popular: MFA Fatigue and how to reduce the risk of success of this threat with Azure AD.
What is an "MFA Fatigue" attack?
For the past few days, the attack that has been successfully carried out at Uber has as its starting point, an MFA Fatigue type attack.
In this case, the user receives a large number of requests asking to approve the connection on the second factor (example: a telephone) to authorize access to the system.
Thinking that this access request is legitimate or to stop receiving MFA requests, the user accepts the illegitimate MFA request.
How to reduce the risk of MFA Fatigue attack success with Azure Active Directory
Microsoft's Multi-Factor Authentication (MFA) cloud service reduces the risk through various controls that will be described below.
Access MFA settings through the Azure AD MFA portal.
1. Fraud alert
This first feature allows your users to report an MFA fraud.
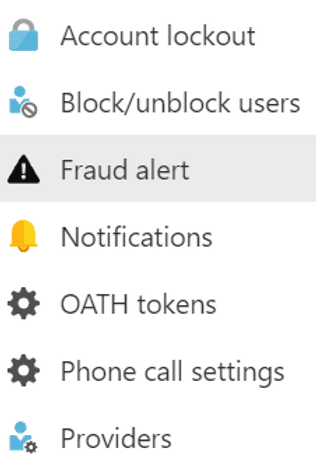
The first check enables the ability for the employee to send a fraud alert to the system.

The second check automatically blocks the account reporting fraud.

The last option defines the option to enter, when the MFA is done with the phone call as the second factor.

Note
By default, the user must enter 0# on their telephone keypad to report fraud when receiving a call for identity verification.
2. Notifications
Secondly, to be informed when a fraud alert is reported.
Notifications are to be configured in order to be notified quickly as soon as a fraud occurs.
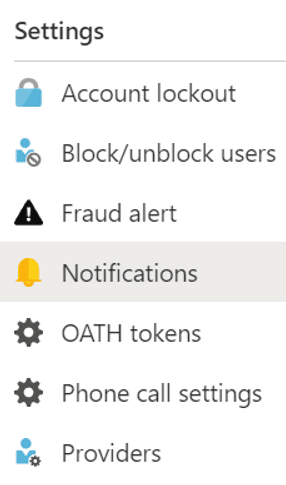
The Notifications option allows you to register one or more email addresses that will receive the fraud alert.

The following notification is received by the recipient(s) and includes all the details of the fraud alert that is reported.
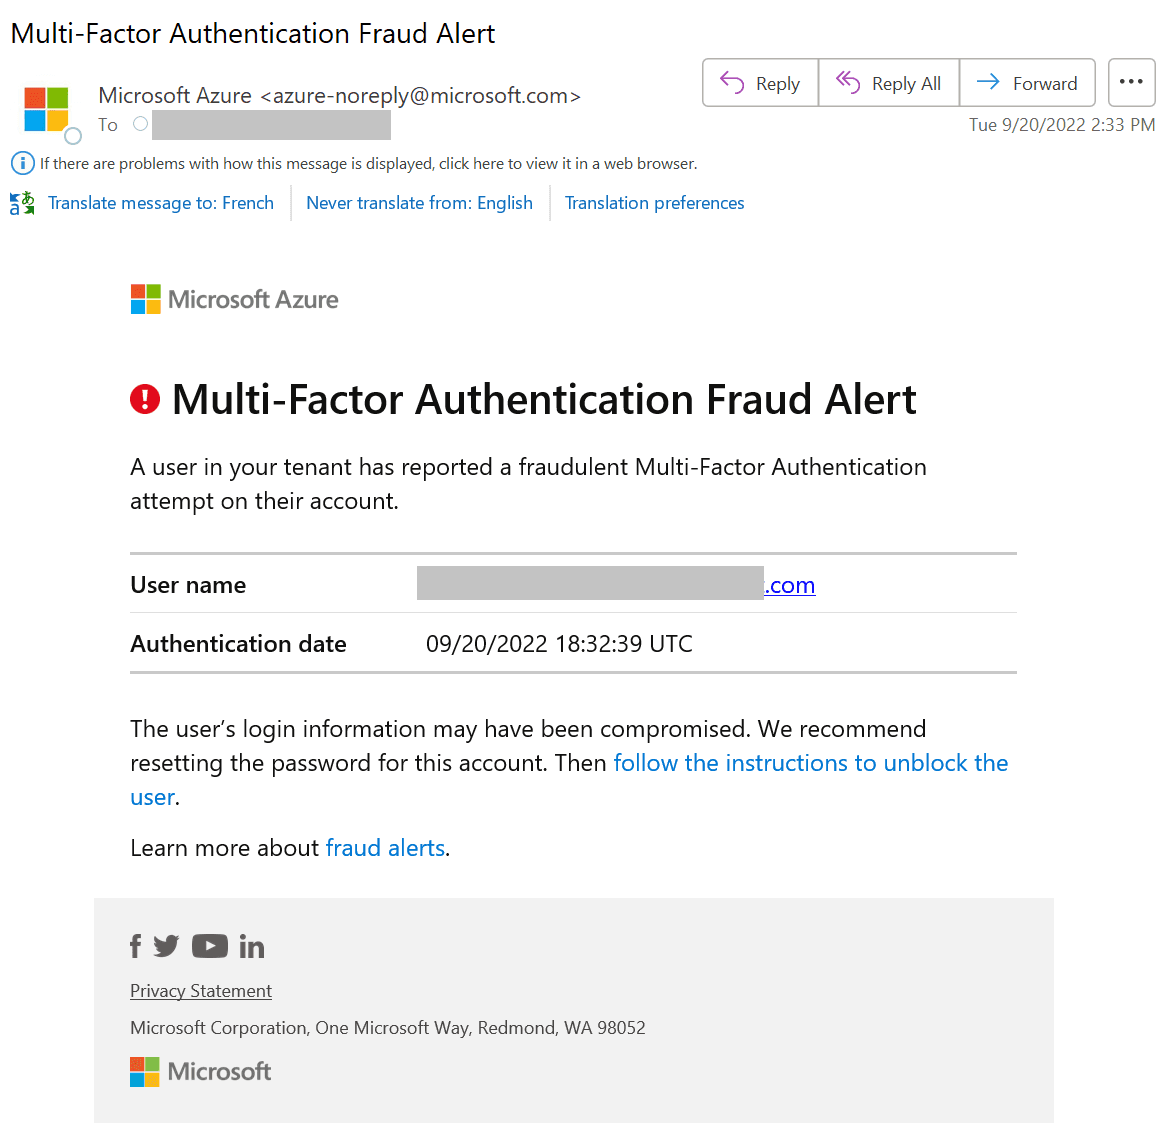
3. Account lockout
The final set of controls to reduce the risk of an MFA Fatigue attack is the Account Lockout option.
Account Lockout allows you to control various aspects of lockout in an automated way.
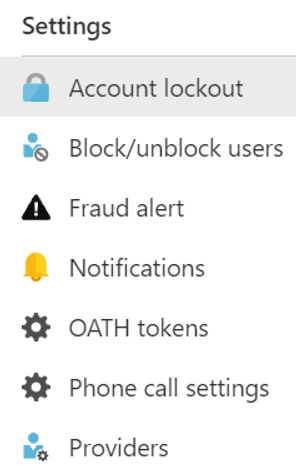
The first control manages the locking of the account after a number of refusals of multi-factor authentication.

Here, for example, the account will be locked after 3 multi-factor authentication refusals.
Note
The auto-lock option can be used in addition to the fraud alert.
The difference is that the fraud alert blocks the employee's account immediately but the automatic locking will occur after one or more multi-factor authentication refusals.
The second control manages the duration (in minutes) during which the number of multi-factor authentication refusals will be taken into consideration.

Example:
If 3 refusals occur during a 30 minute time window, the account will be automatically blocked.
The counter for the number of refusals is reset after 30 minutes.
The last control manages the duration (in minutes) during which the account will be locked.
After this time, the employee's account will be automatically unlocked.

4. User Experience
When these controls are in place, here's what happens from the employee's perspective.
4.1 - Fraud alert for the user
The user receives a spam notification on their phone through the Microsoft Authenticator app.
To initiate the fraud report, the employee presses DECLINE.
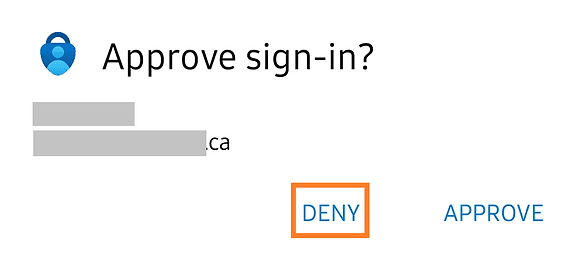
Then, in order to confirm the fraud, the user presses REPORT.

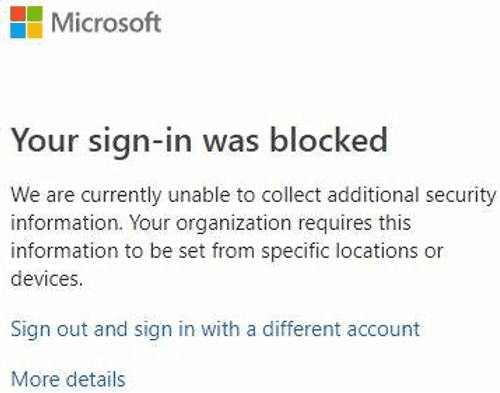
The account is now blocked. It can only be unlocked by a Company Administrator.
Important
Do not lock yourself out. Be sure to have a break-glass account to avoid the administrator account to be locked.
Note
By default, the account is locked for 90 days. It will be unlocked after this date.
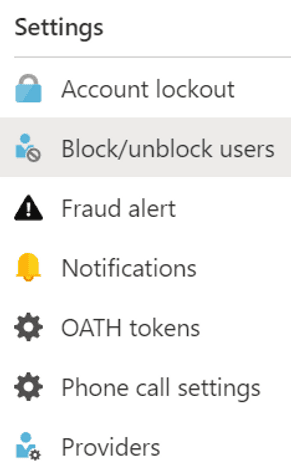
A company admin can unlock the account manually by going to Block/unblock users in the Multi-Factor Authentication settings.
Conclusion
These identity protection best practices are necessary to protect the front door (i.e., user & service identity) of your business.
Our specialist team can help you put the controls in place to secure your identities in Azure Active Directory (AD).
